
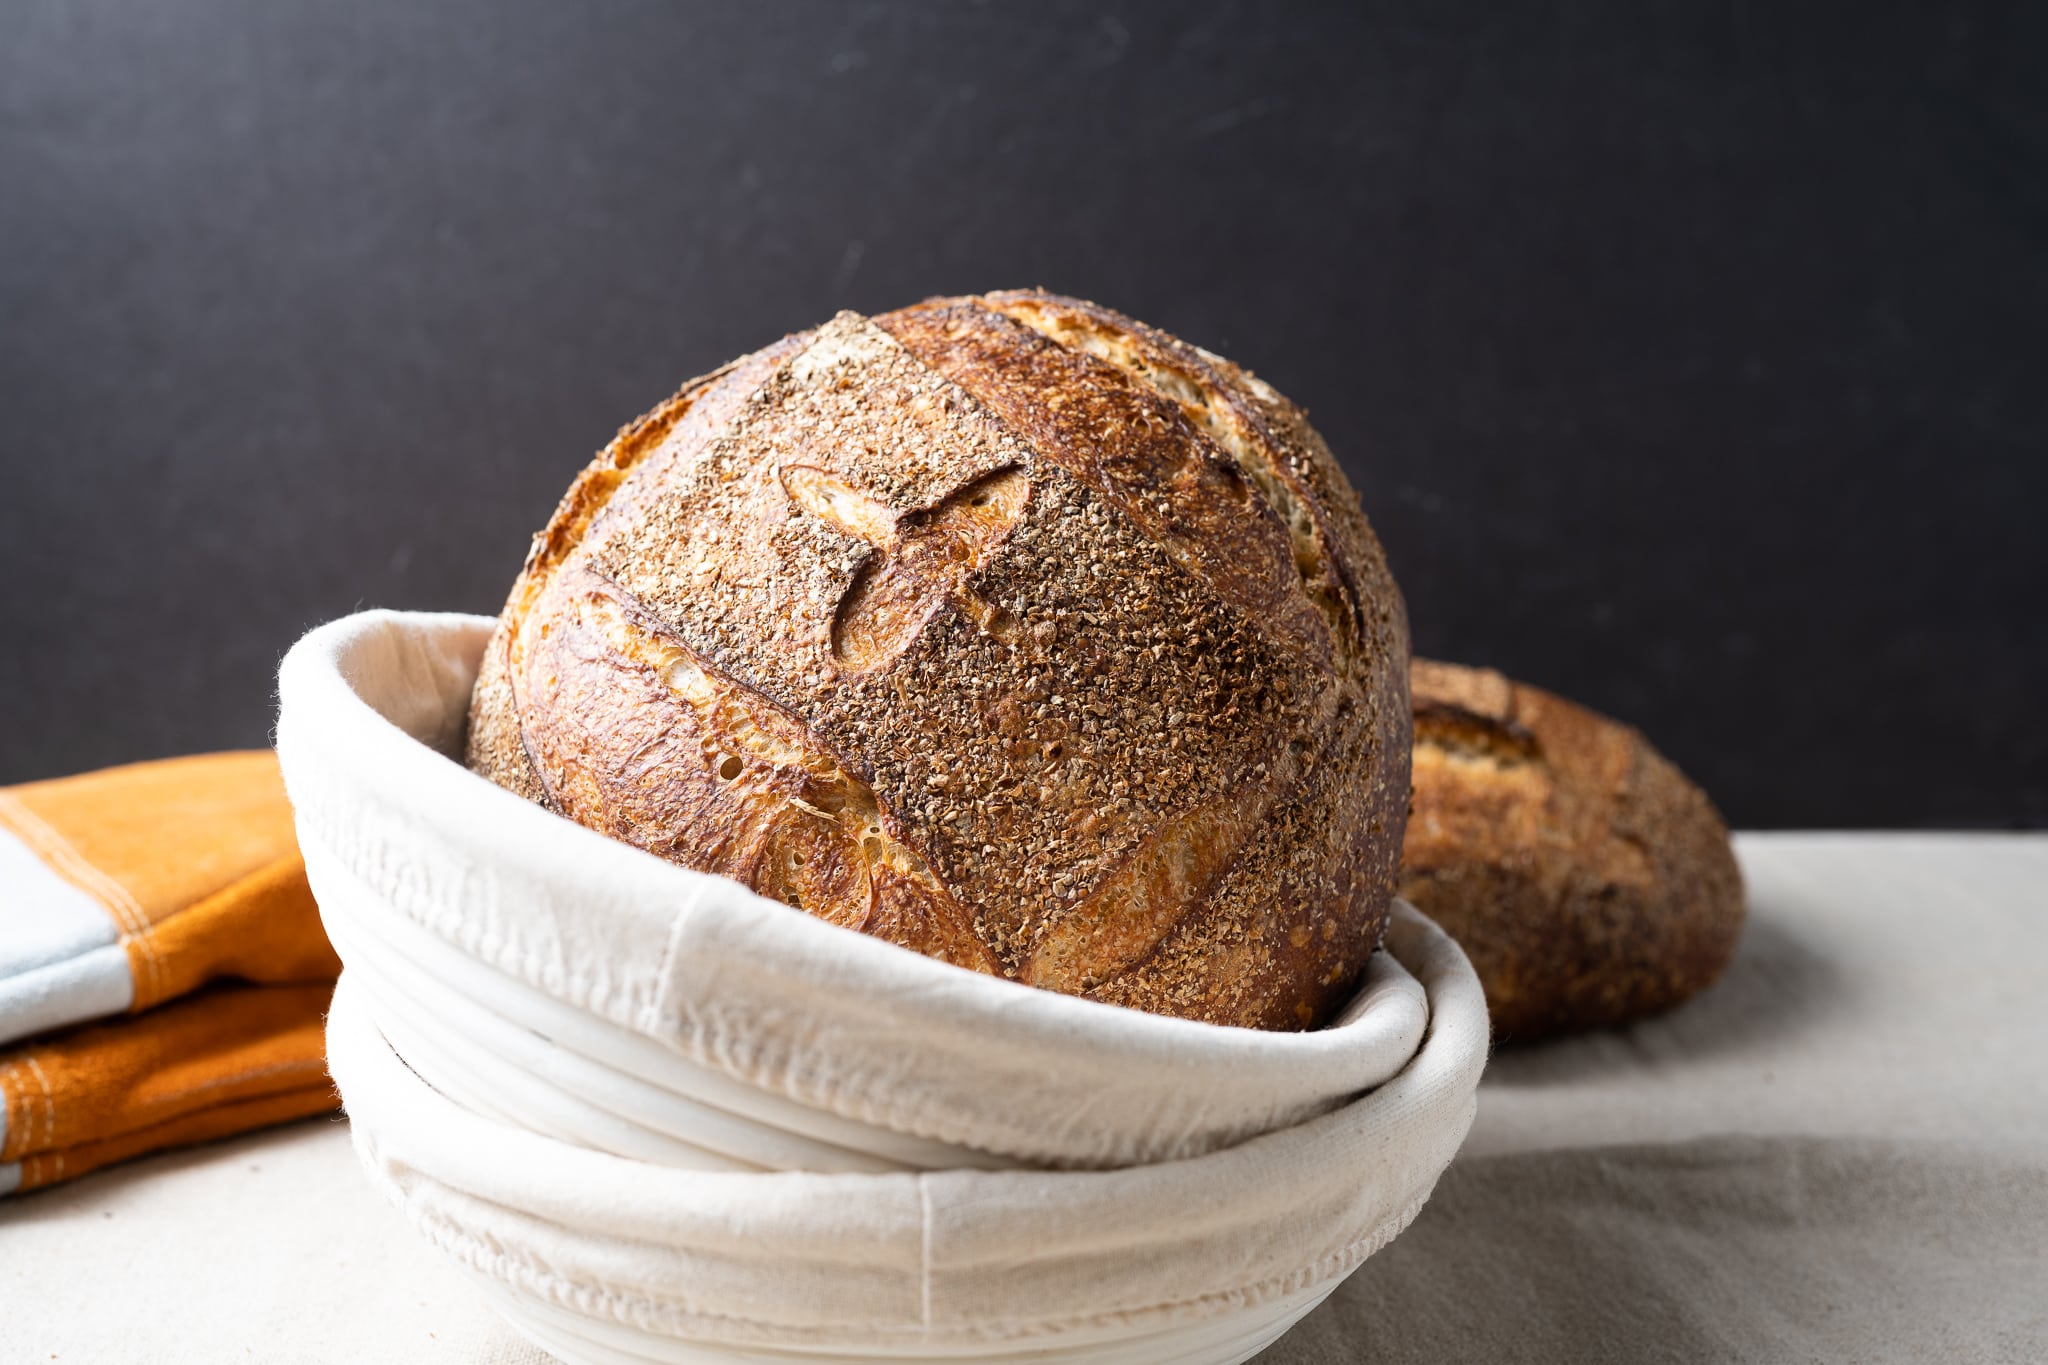
Living at high altitudes makes baking (and cooking) a little more complicated, especially when following recipes. I live in Albuquerque, New Mexico, at around 5,000 ft (1,524 m), and I expect to have to modify any recipe I’m looking to bake to adjust the oven temperature and moisture content and, in some cases, the leavening agent (sourdough, baking soda, and baking powder).
In this post on how to bake sourdough bread at high altitude, I’ll run through the things I typically watch out for and modify to bake bread successfully in my home kitchen.
First, let’s look at the high-level things I always consider when I bake sourdough bread at high altitudes.
Real Quick: How To Bake Bread at High Altitude
| What to change for high altitude | How to change it for high altitude |
|---|---|
| Oven temperature | Increase oven temperature by 25 degrees over what the recipe calls for. |
| Bake time | Generally, increase the baking time (unless you increase the oven temperature) |
| Dough hydration | Generally, increase hydration. |
| Leavening (sourdough, chemical leaveners) | Sometimes a decrease, but not always. |
Adjusting Your Oven Temperature for High Altitude Baking
In my experience, the oven temperature is the biggest modifier when baking bread at a high altitude. I’ve found that I either bake bread longer OR at a higher temperature to bake the loaf properly. Between the two, I usually opt to bake the bread for longer. The extra time needed depends on the bread; it is usually more for pan bread than free-form loaves (like my high-hydration sourdough).
While increasing the baking temperature will offset the time needed to bake a loaf fully, it only goes so far. If the temperature is too far, you’ll burn the loaf’s exterior before the interior is fully baked through.
Should I Bake Sourdough Bread With Convection?
You can use convection (fan assist) when baking sourdough bread if the bread is baked inside of a closed pot, like a Dutch oven or combo cooker. The pot traps the steam during baking, even with the fan running. However, I don’t use convection with bread baked directly on a baking surface. The fan circulates air—and any steam—in the oven, and I’ve found it causes the dough to dry out prematurely.
If you’re baking a loaf of bread that doesn’t require steam, you can use convection. Bread like my sourdough pain de mie, which is either baked with the lid on or with an egg wash, doesn’t require steaming the oven. In this case, convection can safely be used. Note that when using convection, it’s common to either reduce the baking temperature or the total baking time.
For example, if a recipe called for a no-convection bake temperature of 350°F (175°C) for 20 minutes at sea level, I’d set my oven to 350°F (175°C) and bake for 20 minutes with convection turned on.
Ultimately, I don’t usually use convection when baking sourdough bread in my home oven.
How to Adjust Baking Time for High Altitude
Related to the section above regarding baking temperature, I usually need to change the baking time when I bake sourdough bread here at a high altitude. As I said above, I either change the total bake time (increased) or the baking temperature (increased)—not both.
It takes longer to bake bread at high altitudes since water’s boiling point is lower. A lower boiling point means reduced heat transfer efficiency, meaning the very interior of a loaf will take longer to reach a high enough temperature to be properly baked through.
Additionally, since water boils at a lower temperature at high altitudes, it evaporates quickly. If baked for too long, this quick evaporation can lead to bread that’s overly dry in texture. So the challenge for bakers at high altitudes is to find a balance between baking a little longer—but not too long—to ensure the loaf is baked through before becoming overly dry.
It’s always best to test the bake time for your oven, altitude, and the dough you’re working with. Keep an eye on it in the last 10 minutes of baking to avoid overly drying out your loaf or burning the crust.
How Can I Tell When Bread is Done Baking at High Altitude?
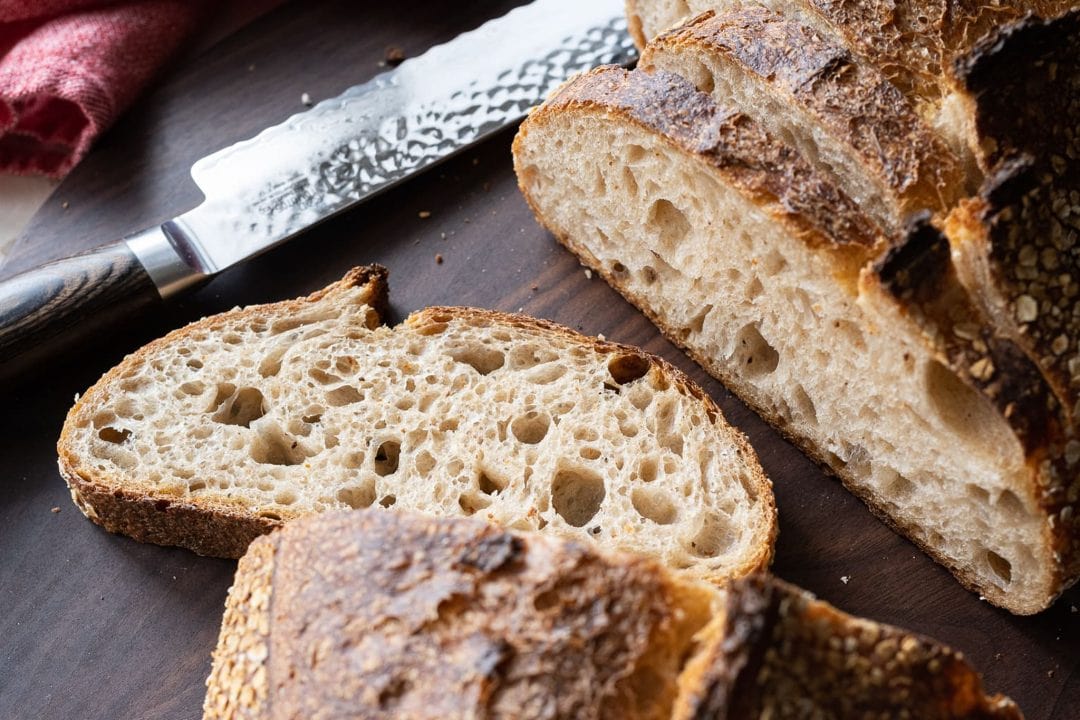
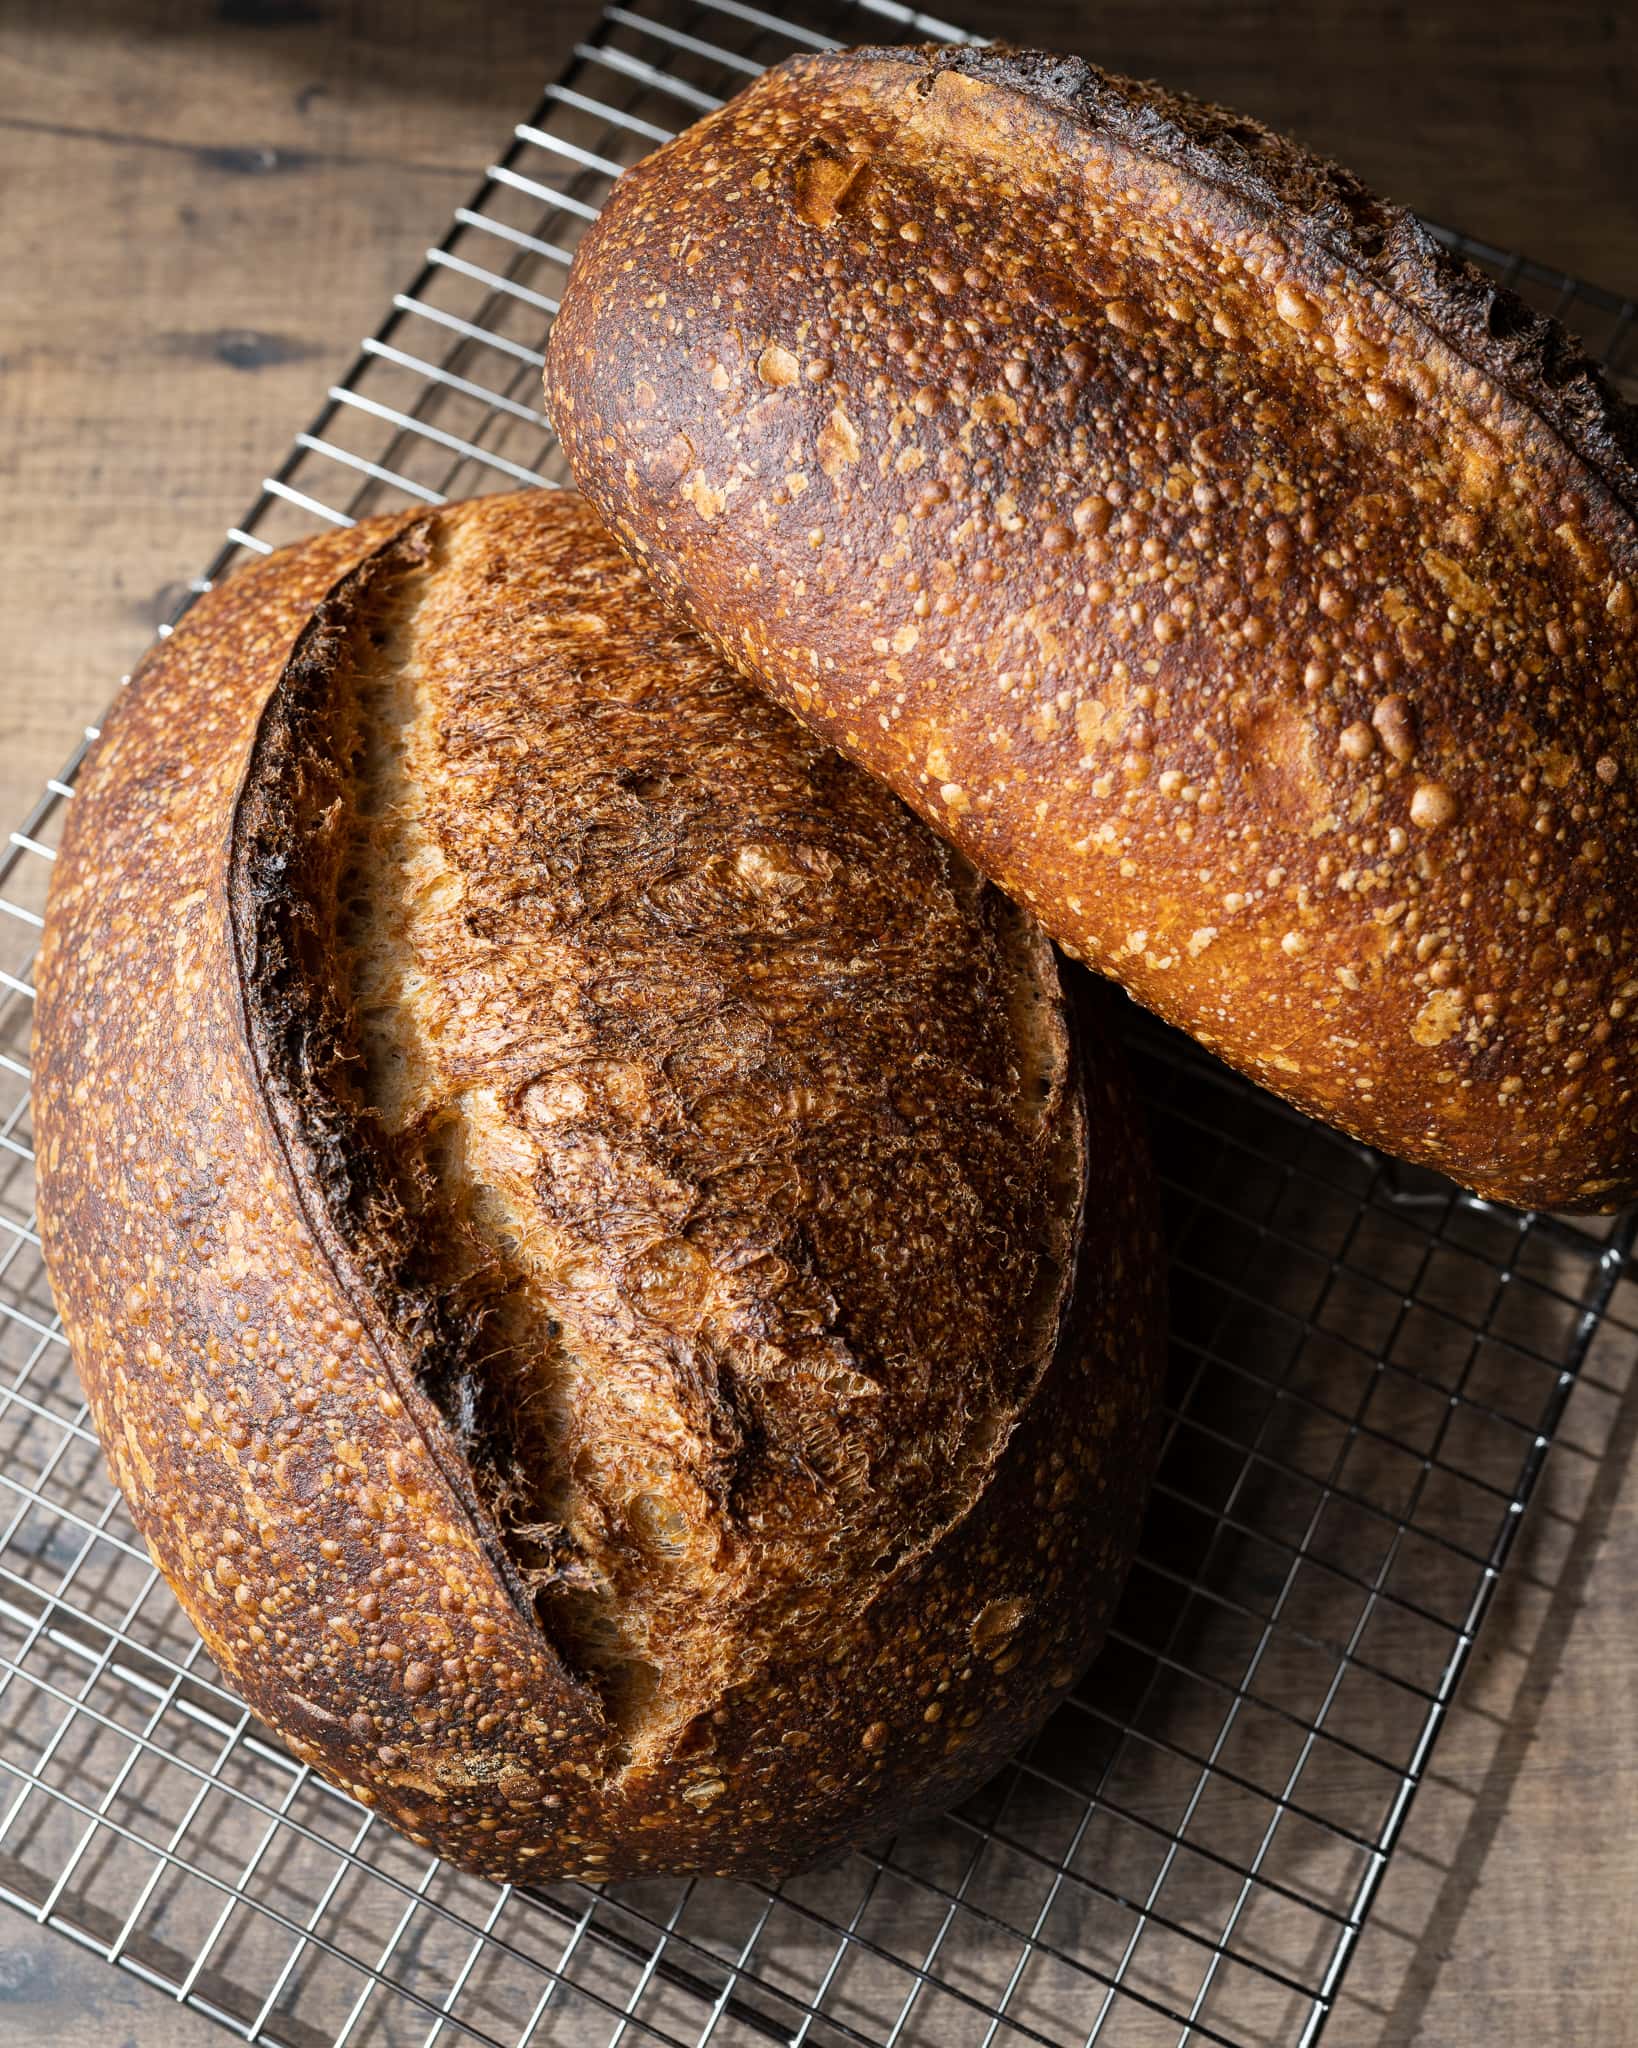
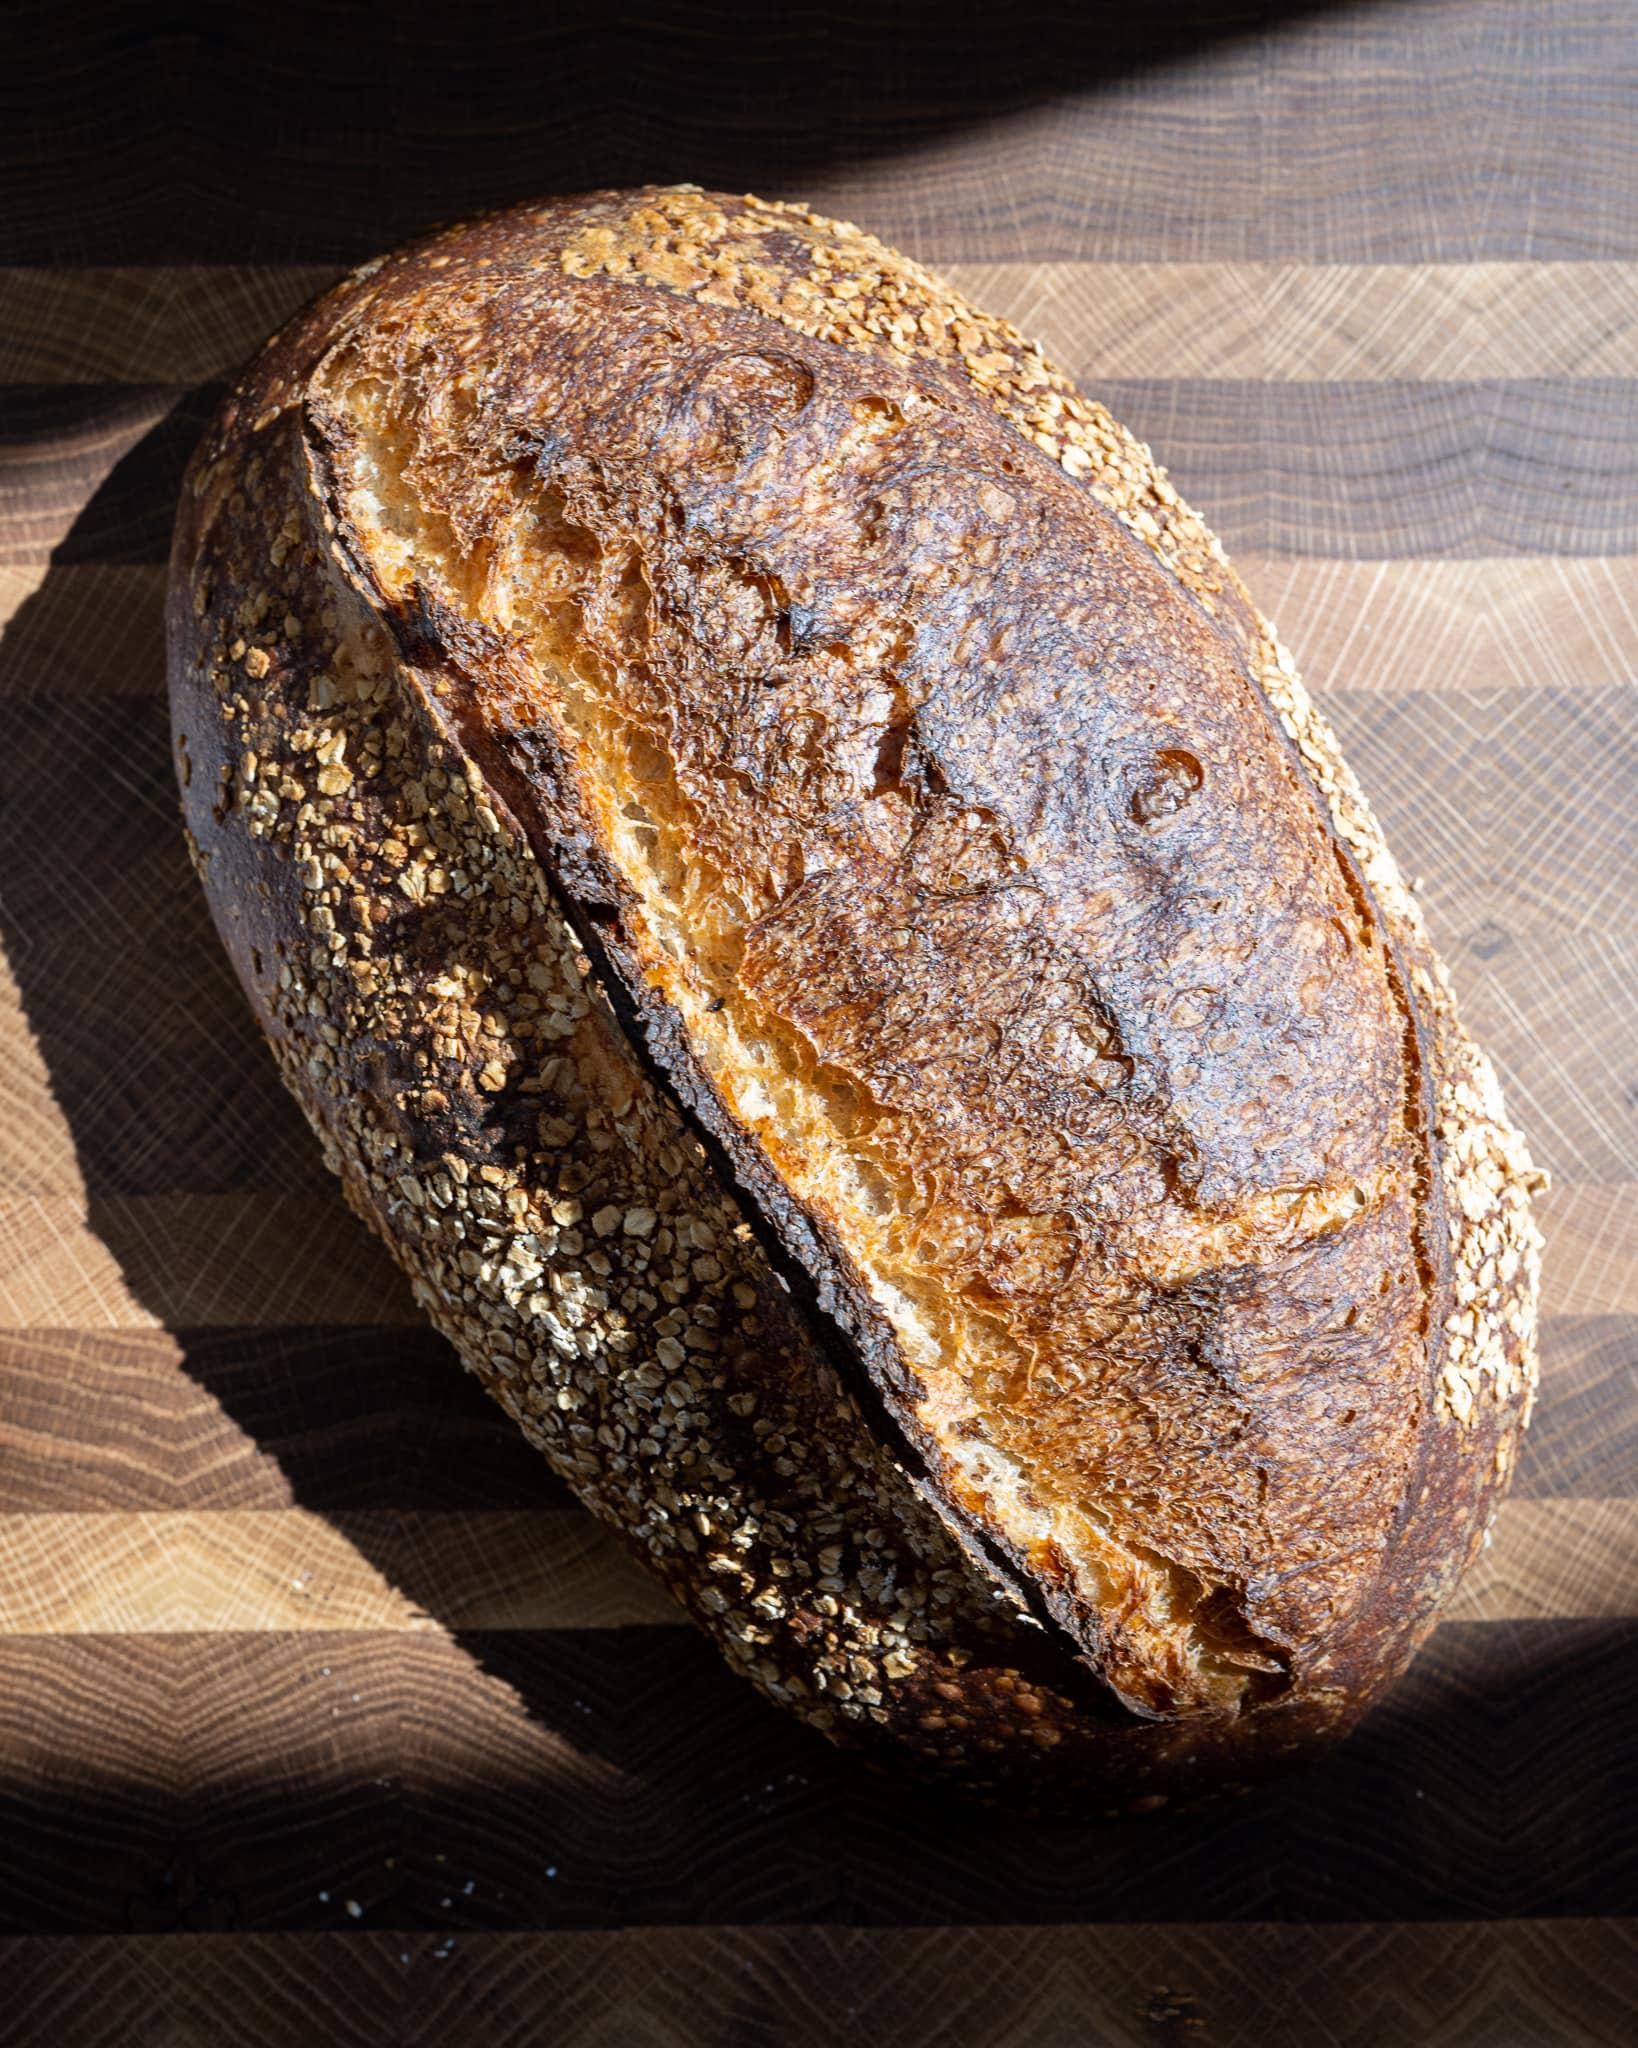
For a free-form loaf, I indicate the internal temperature should be near 200-205°F (93-96°C). However, when baking bread at high altitudes, I’ve found that sometimes no matter how long I bake my bread, it never reaches that temperature. Look for a crust that is well-colored and crispy all around. The loaf should be lighter; a knock to the bottom sounds hollow.
The best way to determine when your loaf is fully baked through is to use a combination of sensorial and measured inputs:
- Depending on the bread type, the internal temperature should be near 200-205°F (93-96°C), depending on the style of bread (Rye bread and some enriched bread should reach the high end of this temperature range.)
- The crust should be deeply colored throughout
- A gentle squeeze should have a satisfying crunch
- There should be no pale-colored areas on the crust
- The loaf should feel light in hand, indicating sufficient water has baked away
Read my full guide to baking bread for more cues and tips on determining when your loaf is fully baked.
Adjusting Dough Hydration at High Altitude
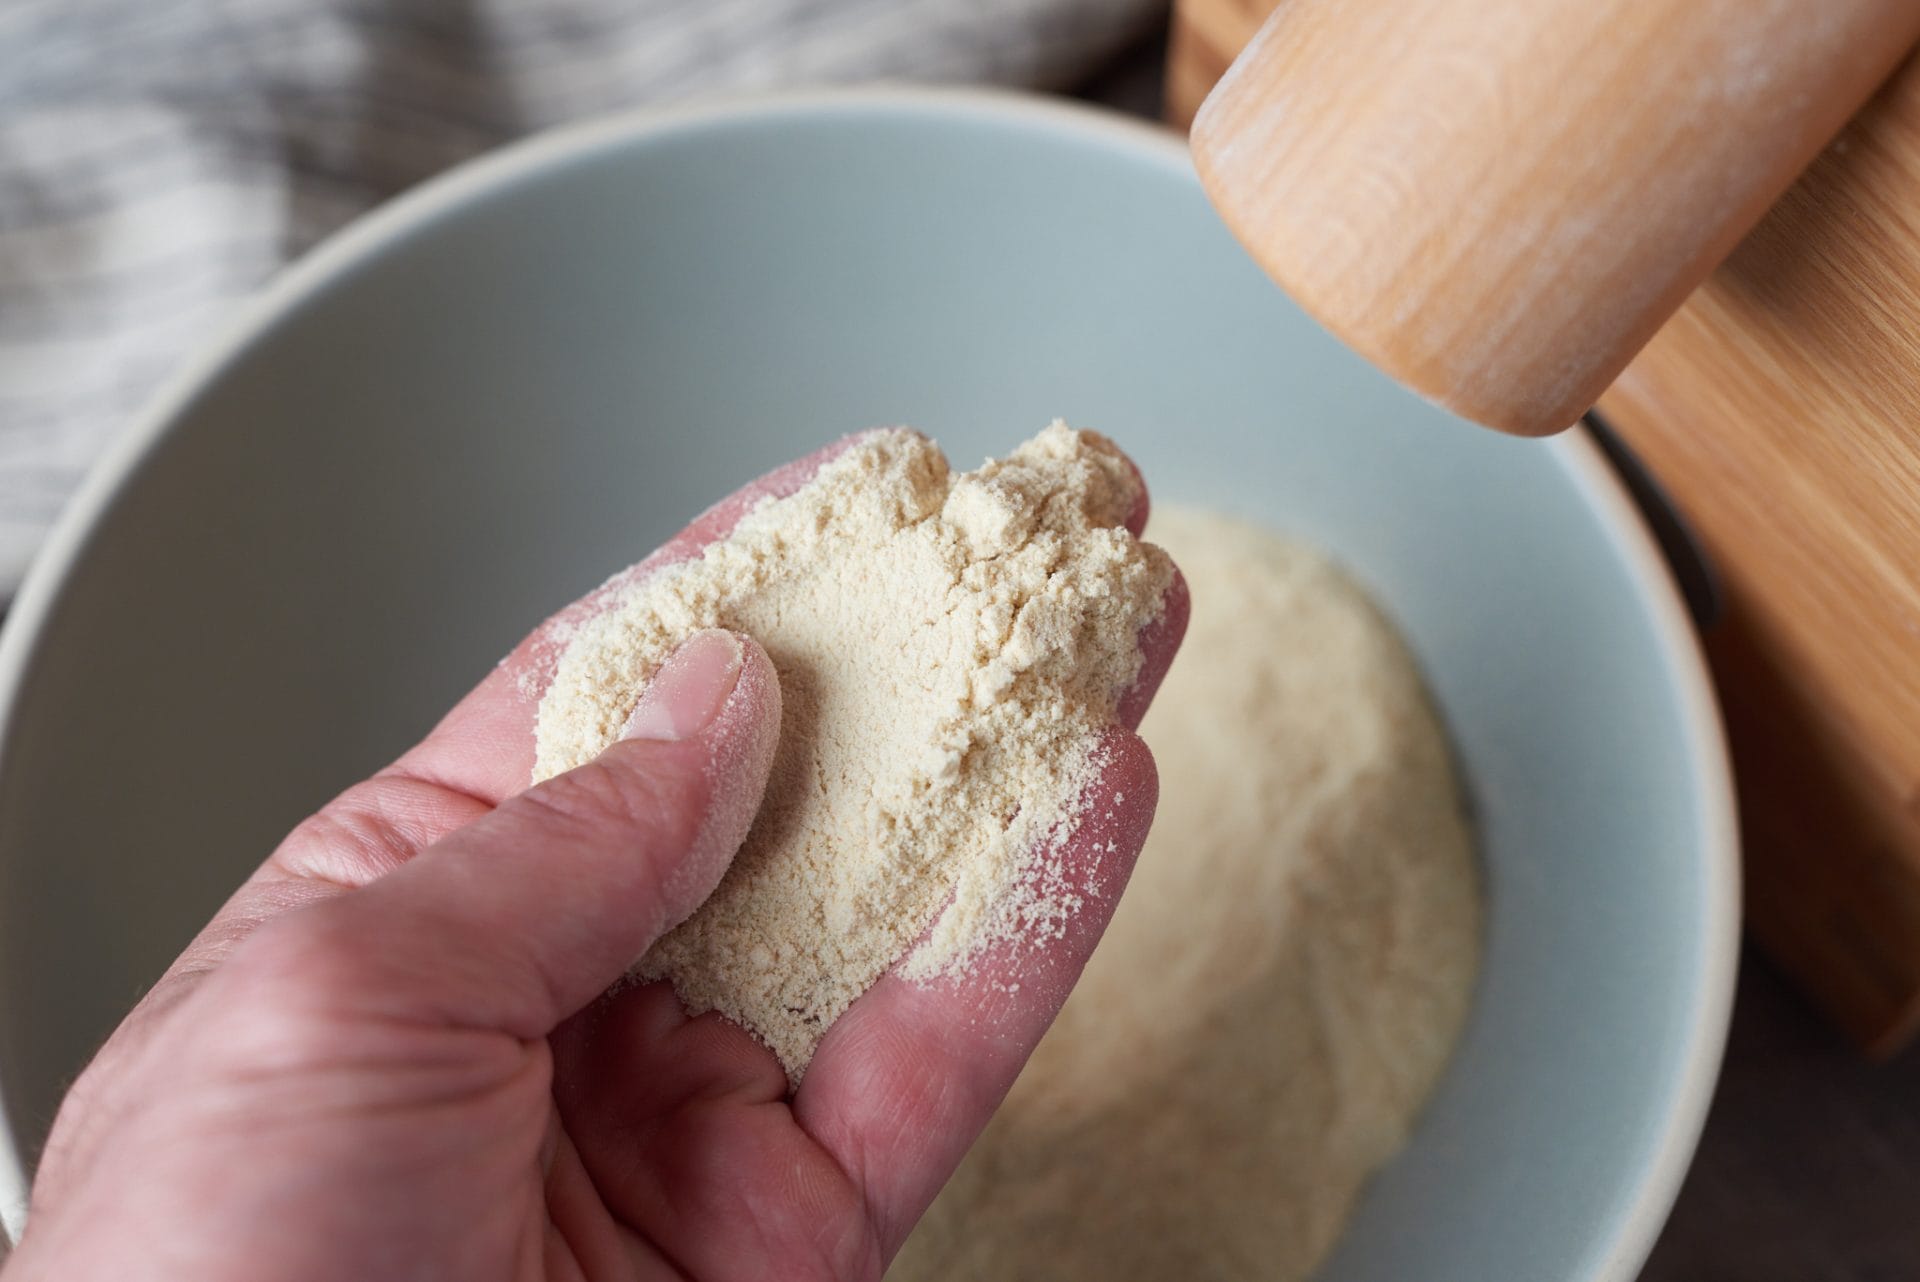
Flour is usually drier at high elevation, and I can attest to that. But this isn’t always the case, and like I always say: adjust the dough hydration to suit the flour you have on hand. Dough hydration is always relative to the flour used because flour is not a static ingredient; it’s ever-changing. We should always be ready to either hold back water or add more water as necessary.
Dough hydration is always relative to the flour used.
This is why in many recipes here at The Perfect Loaf, I call for water to be held back and added in thorough mixing or kneading. This way, we can be sure we’re not over-hydrating a bread dough and using just enough to bring the dough to the desired consistency.
How Humidity Affects Dough Hydration at High Altitude
Sometimes, but not always, humidity is tied to elevation. Humidity affects the amount of water your dough will ultimately handle. Here in New Mexico, we have a wide range of humidity levels, but generally, it’s low, around 20-30%. To compensate, I usually need to add additional water to my recipes.
The important thing is to be aware of this and adjust the hydration of your dough to compensate. I try to give extra cues (including photos) in my recipes to help you judge when your dough is hydrated just enough.
Let Your Dough Rest in Autolyse
Because the humidity at high elevations is typically lower, you might find it beneficial to allow your flour and water mixture to rest for a period before adding your preferment. Performing an autolyse, which is just mixing your flour and water and allowing it to rest, might be beneficial when you bake sourdough bread at a high altitude, even if it’s a short 15-20 minute rest.
With sourdough bread and its requisite lengthy fermentation time, we usually don’t have to worry about fully hydrating the flour in a recipe—it happens without any autolyse. This rest period might benefit baked goods with a short preparation timeline (like cookies). A short autolyse is always an option when you bake sourdough bread at a high altitude.
Reduce Leavening at High Altitude
Because air pressure is reduced at a higher altitude, you might find reducing your preferment—in our case, our sourdough starter or levain—in a recipe might help control fermentation rates when you bake sourdough bread at a high altitude.
If you have a dough that’s extra sticky, slack, weak, fails the poke test, and shows lots of large bubbles at the end of your proof, it may be over-proofed. To adjust, reduce the amount of pre-fermented flour (sourdough starter or levain) in your recipe to slow fermentation activity. Alternatively, you can play with reducing the bulk fermentation time or final proof time to avoid the dough going too far in fermentation.
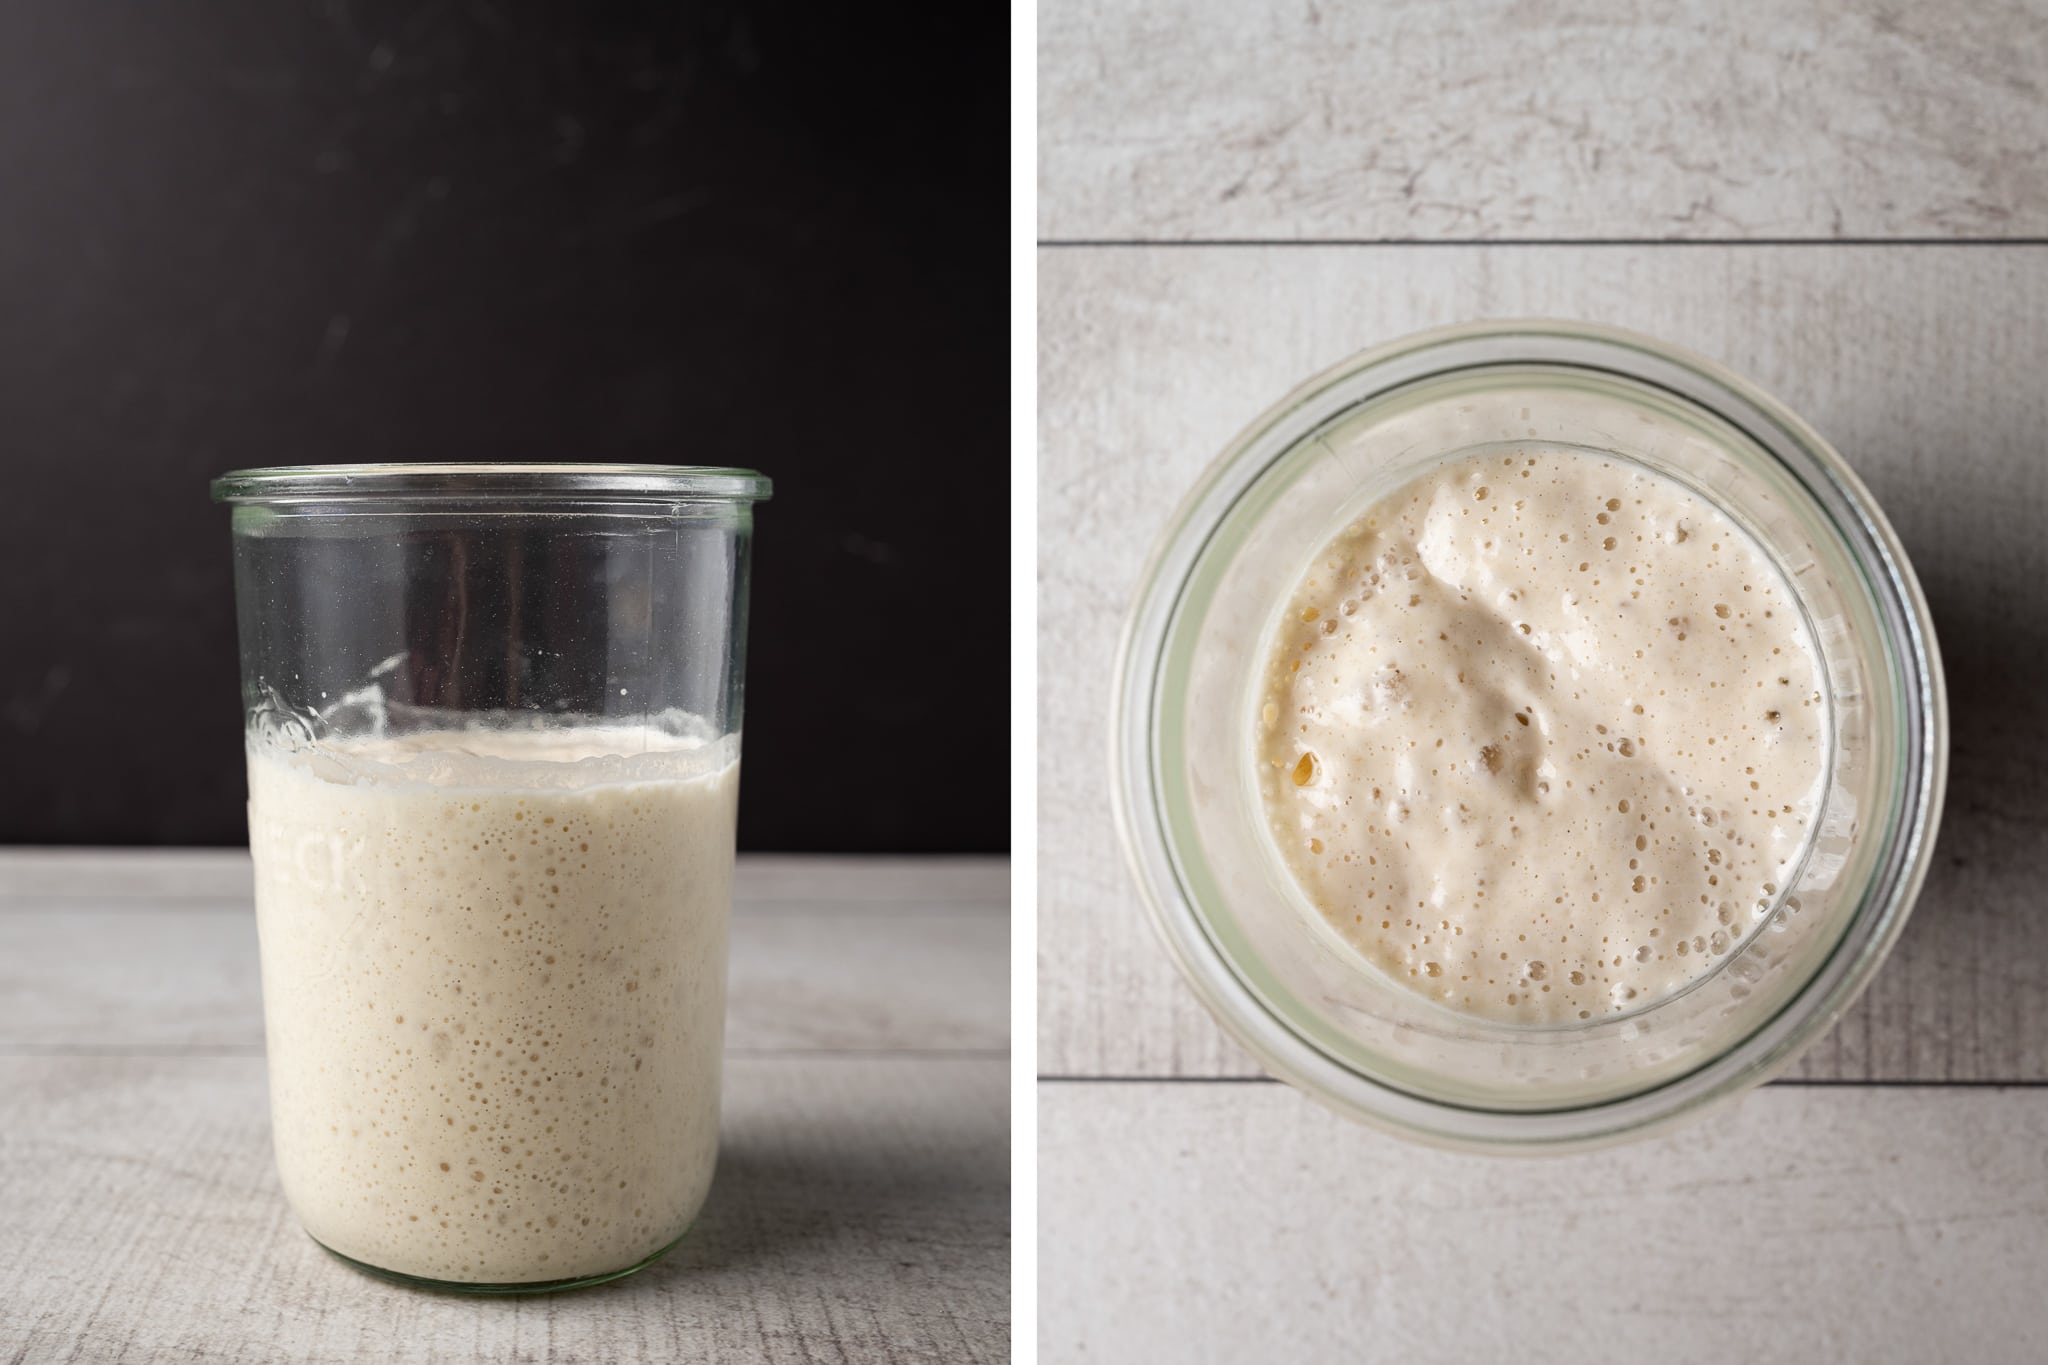
How Does Altitude Affect My Sourdough Starter?
You might find that your sourdough starter has increased fermentation activity at high elevations, but I’ve not found this to be a huge issue. Your daily refreshment cycle for your starter should always be reactive, adjusting to how it’s performing and adjusting your refresh times and ratios as necessary.
For example, if your starter is overly acidic (super sour aroma and watery consistency), adjust by leaving less starter in your jar. I’m constantly adjusting like this based on the seasons and temperature in my kitchen (or what I have my dough proofer or Sourdough Home set to)—and I would make this adjustment whether I was baking at sea level or high altitude.
Read through my sourdough starter maintenance routine →
Are the Recipes at The Perfect Loaf Made for High Altitude?
I always bake sourdough bread at a high altitude in my home kitchen, and the recipes posted here are tested in those same conditions. But I do slightly modify my recipes to work in kitchens at lower altitudes just as well. As always with baking bread, some adjustments will be necessary for your kitchen, whether it is hydration, oven temperature, timeline, or leavening percentage.
What’s Next?
I hope this guide on baking sourdough bread at high altitude helps you modify recipes to work in your high-altitude kitchen. The recommendations here are general guidelines, so be sure to test them!
One last important point: be sure to store your bread properly when living at a high altitude in a dry climate to ensure it doesn’t dry out quickly. Although honestly, even if you live at sea level, storing your bread properly is important to extend its freshness.
Try your hand at baking any of the following recipes, all of which will work well at high altitudes:


35 Comments
I am in Denver, just over 5,000 feet. Love your recipes! When you say to increase the baking time, do you increase the time with the lid on the Dutch oven as well as uncovered? And about how much time would you add for each?
Great question Mary! I always do the lid-on time the same—usually 20 minutes. It's the remaining time after that you'll need to length (the amount of time varies, so you'll have to experiment).
This is timely! I currently live in Albuquerque, but we're moving to the Andes of Ecuador next year, where we'll be at an elevation of 8,400 feet. Thanks!
If it is Cuenca, Hope we can get in touch and share ideas. Love sourdough that makes you wince
It is! I think I’ve seen your name in some expat forums.
Going from high up to very high up!
I don’t see the recipes listed for high altitude, can you please share them?
Sorry about that Mary. I've updated the post with the recipes above! Generally, any recipe here at The Perfect Loaf will work well for you.
I am super happy to find this post. I live in Albuquerque NM as well and recently started to get intrested in making Sourdough bread and I am making it a journey. I'm understanding how it all works and what I have been doing wrong with my bread from start to finish, when I end up with loafs of bread with a dense crumb that is gummy and hard to cut. The taste is great and the aroma is amazing, but the texture is always wrong. So, that is why I am determined to learn how to make perfect Sourdough bread and not only bread, but also other baked goods with Sourdough starter and levain. I love baking and cooking. Learning how elevation determines how your baking and cooking come out, is a game changer. I also love to experiment. It make a it so much fun to try new things when I baked and cooking. Trial and error.
Hey Crystal! Great to hear from a fellow New Mexican. Well, if you want to learn sourdough you're in the right place! Be sure to check out my Start Here guide to get going:
https://www.theperfectloaf.com/new-baker-start-here/
As always, I'm here if you have Qs along the way. Welcome!
I live at 6100 ft. and my sourdough bread is always over proofed. I think reducing the amount of starter in a recipe is the ticket to get a better result. About how much of the sourdough starter amount should I reduce from the recipe? Thanks for your help!
That should help. I'd drop it by 5% and see how the dough progresses. Always remember, divide the dough in bulk fermentation earlier if necessary!
Thanks for collecting this information. Living in Denver I have bookmarked this information and the excellent comments!
You and other commenters mentioned about not being able to reach the target temperature range of 200-205 degrees F. I've always thought that the upper temperature limit for my loaves was driven in part by the relationship between the boiling point of water and altitude (really air pressure). Once the temperature reaches the boiling point all the loaf can do is create steam. So the internals of the loaf are tending to keep the loaf at that temperature until there is no longer enough water. Kind of like a gaseous bain-marie. While not a scientific evaluation it seems consistent with what I see.
I've tended to take my loaves out of the oven at 190-195 and they appear to be adequately cooked. Also appears to keep the loaves moist for a bit more time around the house with the low humidity we have much of the year.
I hear you and that sounds logical to me! You're right, at higher alt, water boils at a lower temp, at some point you simply cannot get any hotter than that internally.
I grew up baking bread with my mother at sea level in California and since settling here in Albuquerque i have become nothing but frustrated with baking. Everything i do is always too dense when i prefer i light open crumb. I feel that i have tried a million things that were suggested online but given that you are here in my same city i am excited to try these suggestions.
It sounds like perhaps your dough was slightly underproofed. There are a few indicators your dough could be under: explosive rise in the oven, dense spots in the interior with potentially scattered large holes, and a gummy texture to the interior. Finally, it’s possible the bottom of the loaf might be slightly bowed upward (like the letter “U” — the top will kind of dome).
Make sure to build your levain from a starter that’s strong and mature (meaning it’s risen to it’s peak height before you take some to use). From there, bulk fermentation is very important! Make sure your bulk fermentation goes sufficiently far, you want the dough to look smooth, it should have risen considerably, and have bubbles here and there — it should look alive. If you tug on the dough a bit it should offer resistance to your tugging, it’ll feel stronger. Give the dough the time it needs in bulk fermentation! If you have to give it another 30m or hour to see these signs, do so. It's important for this step to go sufficiently far for the dough to have enough fermentation activity before its proof.
Check out my guide to proofing for a bit more help, too:
https://www.theperfectloaf.com/guides/proofing-bread-dough/
Hi, so I am somewhat new to sourdough baking. I live at 6,000 feet and I tried not adjusting anything and my loaf was flat and hard as in doughy. The flavor was good and my young boys were angels about it being that way, they still ate some and were all for trying to make more. Crust was crunchy and it just needs more proofing. Any suggestions to get it to double? Thank you
It sounds to me like your dough was underproofed! Check out my guide to proofing for a bit more help:
https://www.theperfectloaf.com/guides/proofing-bread-dough/
So, I live 9000 ft up. How should I adjust from the high altitude starter, to high, high altitude? I’m scared to even try! Thanks for your advice.
I'd say just use your starter/levain as I indicate in my recipes, should be fine for you there Deb!
I live on the Front Range of Colorado, about 5000 ft which we don’t think of as high altitude. Water boils at about 202 F, but I have never tested the temperature of a loaf of bread or any baked good. I go by appearance, smell, and lots of experience baking. Making a steamed loaf already requires heating the oven to 450, so I don’t heat it any higher. I have an electric oven and sometimes the top element will burn the top of my loaves if I am not careful. I use some rye in my starter and do not refresh it every day, but have a special routine I have devised to avoid wasting too much flour, as good quality flour is expensive. Some days my starter is crazy active and even chilling doesn’t slow it down much. I always autolyze the flour and water mixture, and freely adapt recipes for yeast to sourdough. Lately I have been baking my loaves a few min less as the crust was really hard, and I am experimenting with starting my loaves in a cold pan as I am tired of having my gorgeous risen loaf deflate as I plop it into a 450F hot Dutch oven, and frequently also burn my hand.
I live at 9,000 ft in the Colorado Rockies. I have been baking your recipes for several years, and I must say, I disagree with some of your suggestions for high altitude. For your recipes I do not increase the oven temperature, and I bake them for a little less time than your recipes indicate. If I bake them too hot or for too long, they get burned or dry.
Because water boils at a lower temperature, I cannot expect my breads to reach as high a temperature as you would for your 5,000′ elevation. I shoot for about 190-195 degrees F, and the breads turn out great. Different altitudes will require a different target temperature, which I believe should be just less than the temperature at which water boils. (Here, water boils at about 195-196 deg. F.) Do you think this is a fair assessment to determine the target temperature?
Also, I have not found a need to use less levain due to high altitude, and my fermentation time is usually about the same as yours, even though I am 4,000′ higher in elevation.
I’m so accustomed to baking here, I pretty much go by “feel”, adding a bit more water or flour if I feel my bread is too stiff or too slack.
That said, thanks for all the great recipes.
I live at 7500 feet in the Rockies and have also found I can not get above 197 degrees. It just stops getting warmer. If I bake my bread at 425° or 450°, the bread gets dark very quickly and the crust get too thick and inedible, though the dogs think it is a great chew toy! I am a fairly new sourdough baker, baking around 10 months, and so far have not adjusted any ingredients. Baking quick breads and cookies, I follow the recipe weighing the ingredients versus measuring using measuring cups. They also turn out fine. Cakes are a different story. I couldn’t get them to turn out picture perfect at sea level and they look and taste the same up here. Ugly, bland and unevenly raised. Angel food cake box mix always turns out perfect. Much of this is likely my problem.
I am waiting to see if he ever replies to this. I live just uphill from Denver!
reply above 🙂
I totally hear you, Laurie! But I can tell you after much testing here at a mile up, just about everything I bake requires longer time to finish (or I can bake at a hotter temp). You're absolutely right, though, that the internal temp of a loaf at very high alt may never reach internal temps listed for bread baked at a lower altitude—I also see this here.
I also think we're dealing with humidity changes at these various altitudes as well. You're much higher up, and it may be even drier than what I'm at here. If you bake too long with a low humidity, your bread will turn into a cracker 🙂
I think when you start to get really high up, like 7k and 9k ft, things start to get very skewed and you really just have to go by testing and by feel, as you're doing.
Do you have any guidelines for baking gluten free sourdough at 7500′ in the desert SW Colorado USA
I don't but it should be similar to what I post here!
I’ve searched hither and yon for information about how being at sea level impacts sourdough baking, as we moved to the beach in December and the way my dough is behaving is crazy and totally not how it was when I lived in the foothills of the blue ridge mountains (at about 900 feet above sea level). My dough seems to want to more than quadruple before it is ready to shape and bake. But all I can find on the interwebs is information on baking it at high altitude. Do you know anything about being right at the ocean and how it impacts the dough?
Thanks!
Liza
Hey, Liza! It really should be just about the opposite of the information you read up in my post. You can expect slightly longer fermentation times, if it’s humid a reduction in hydration, and shorter bake times.
Hey Maurizio, I have made probably 50 loaves using your beginner’s sourdough recipe. I’ve learned a lot and appreciate all of your lessons and tips. I increase the recipe proportions to yield 50% more (Don’t think that would affect the loaf’s behavior). I love the flavor and crust I get. WIth that said, my loaves always lack larger, evenly dispersed air bubbles in the crumb (like I see in your examples). My crumb is pretty dense, w/small air bubbles (more like a bagel). They also lack the kind of oven spring I see in your pix. Wondering what that’s a sign of and how I can address it. I live in Boulder (about 5,600 ft). I am going to dial up temp next round (recipe used to be 500 degrees, and then it was reduced to 450. Think I used to get better spring back at 500, but still not as good as could be). I did try shortening bulk fermentation last round (no big difference). Any tips that come to mind are appreciated. Thanks! -Mike
Unfortunately there isn’t a single thing that leads to a more open interior in a baked loaf of bread. First, the flour used is very important, it needs to be strong enough (protein) and have the proper gluten properties to trap the gasses produced during fermentation. For example, no matter how hard you try with rye flour, the gluten properties in the grain just won’t lead to an open interior.
From there, a very strong and well-fed starter is important — it all begins there. Fermentation in general is so critical, it’s worth spending some time really stepping back to look at how your starter is performing and how well-fermented your dough is during bulk fermentation and the final proof. Without strong fermentation your loaf will never rise to its full potential.
Sufficient dough strength through mixing, and also organically through fermentation, is also important. Think of your dough as a balloon: you want it strong enough to trap gasses and expand in the oven, but not so strong that it won’t relax and expand out. Finding this sweet spot takes some practice.
A full and complete bulk is also very important. Cutting bulk fermentation short before the dough is sufficiently fermented will hinder the development in final proof.
I also find that, and this depends on the dough you’re working with, a very gentle preshape and shape are key to maintaining an open interior. If you’re rough with the dough during these times the delicate interior will quickly break down and become more dense. That said, the dough does still need enough strength through shaping to hold its shape during baking.
Sorry for the long winded answer but really all of these things are important! Each part plays into the next and overall what we’re searching for as bakers is balance. Balance between the extremes in each phase of the process.
Thanks for the tips on increasing bubbles Maurizio and thanks to Michael for bringing it up in the first place.
Although at an altitude of 2,100m (7,000’+), we’re just a few hundred kilometers north of the Equator, putting our climate squarely into cool tropical. Daytime temps hardly deviate from 23°C regardless of the time of year and humidity is around 70%. Nighttime dips into high teens.
There was enough variation there that I built a proofing box with a Sonoff temperature controlled switch and a growing mat (and a web cam, of course, all controlled front ye same ewelink app)).. Now my temps rarely move outside a range of 23-25°.
That has yet to result in bigger bubbles, but your tips will help me experiment further!
Cheers.
What a wonderful addition!!
Thank you 🙂